Tutorial : Needle Felted Toadstools
I am so excited to share a tutorial on needle felting. You have shown interest in giving it a go and I encourage you to dive right in. Others of you who are hooked will agree, it is such a fun hobby and you'll be amazed at the things you can make. When I picked up my first needle three years ago, I was surprised at how quickly I took to it. One of the things I love most about needle felting is that you can finish a project in one sitting. You can sit down with a basket of wool and be holding a delightful toadstool in your hands an hour later. Of course, you can make wonderfully elaborate creations that take hours and hours but you can also make something in twenty minutes too. I like that.
 This
tutorial (and others like it) is published on my blog, The Magic
Onions, in color if you'd rather follow the color, online, directions...
www.themagiconions.blogspot.com (search: needle felted toadstools).
This
tutorial (and others like it) is published on my blog, The Magic
Onions, in color if you'd rather follow the color, online, directions...
www.themagiconions.blogspot.com (search: needle felted toadstools).
This is a tutorial on how to make sweet, needle felted toadstools... a simple and fast project for beginner needle felting.

Equipment - Needle felting requires three tools; wool roving, a felting needle and a protective foam board.
 Wool
roving looks like cotton candy. When the sheep is sheered, the fleece
is washed and dried and then it is 'carded' - brushed so that all the
knots and clumps are brushed out and the fibers of the wool all run the
same way. It is then dyed... any wonderful color under the sun :-) This
roving can then be spun into yarn (for knitting) or it can be felted.
Wool
roving looks like cotton candy. When the sheep is sheered, the fleece
is washed and dried and then it is 'carded' - brushed so that all the
knots and clumps are brushed out and the fibers of the wool all run the
same way. It is then dyed... any wonderful color under the sun :-) This
roving can then be spun into yarn (for knitting) or it can be felted.
The protective foam board is not absolutely necessary but it is definitely recommended when you are learning to needle felt. The needle is very sharp and if you don't have a board upon which to steady your work, you will find yourself painfully stabbed more than once.
The felting needle is about 3 inches long. As I said before, it is very sharp. The tip of the needle has a number of small barbs and it is these barbs that felt the wool. It works because the outer surface of each fiber of wool has tiny, microscopic scales on it. When the fiber is agitated, the scales hook into one another, forming a tighter and tighter mass. The needle works because the barbs of the needle 'grab' the fibers as you stab it into the wool, depositing the fibers deeper into the wool. The little scales on the fibers lock together, ensuring that the fibers stay in their new place. By stabbing the wool hundreds of times with your needle, you have control over the form of your wool and can shape it as you wish. You can see the barbs if you look closely at the tip of your needle.
Making Toadstools:
 For the red top of the toadstool, break off a length of red wool roving about the length of your hand.
Roll it between your hands as you would roll a ball of playdough into a snake.

Roll the wool 'snake' into a tight spiral. The tighter you can get it, the easier it will be to felt.
Tip: I find that rolling is key in many of my felting projects... if I can roll the wool tightly to begin with, I can greatly reduce the time my form takes to felt.
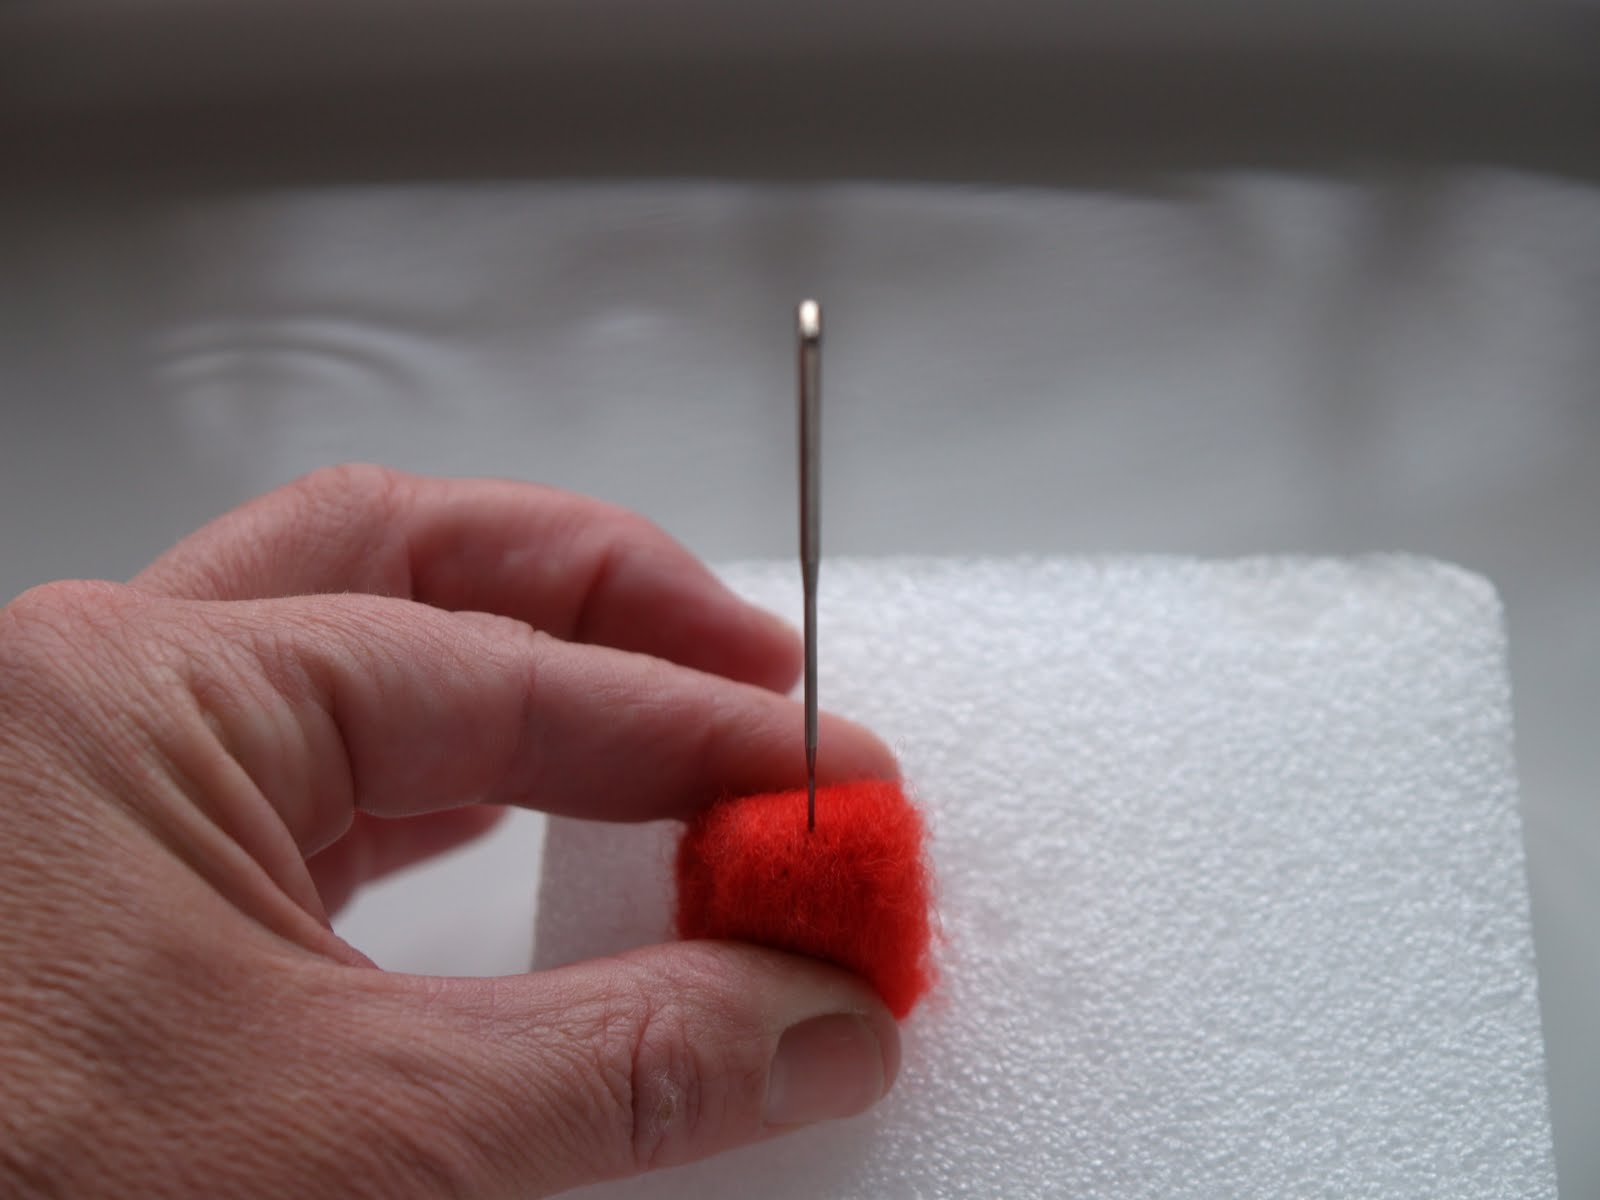 When
my red wool has been rolled into a tight spiral, I set it down on the
felting board and stab it with the needle many times around the outside
of the spiral. Be slow and deliberate with your stabbing in the
beginning, and concentrate, please... it hurts like getting an injection
when you stab yourself... it's definitely not the end of the world,
but it is better avoided :-)
When
my red wool has been rolled into a tight spiral, I set it down on the
felting board and stab it with the needle many times around the outside
of the spiral. Be slow and deliberate with your stabbing in the
beginning, and concentrate, please... it hurts like getting an injection
when you stab yourself... it's definitely not the end of the world,
but it is better avoided :-)
You will soon see that this stabbing holds the wool in place and your spiral will not unravel if you let it go.
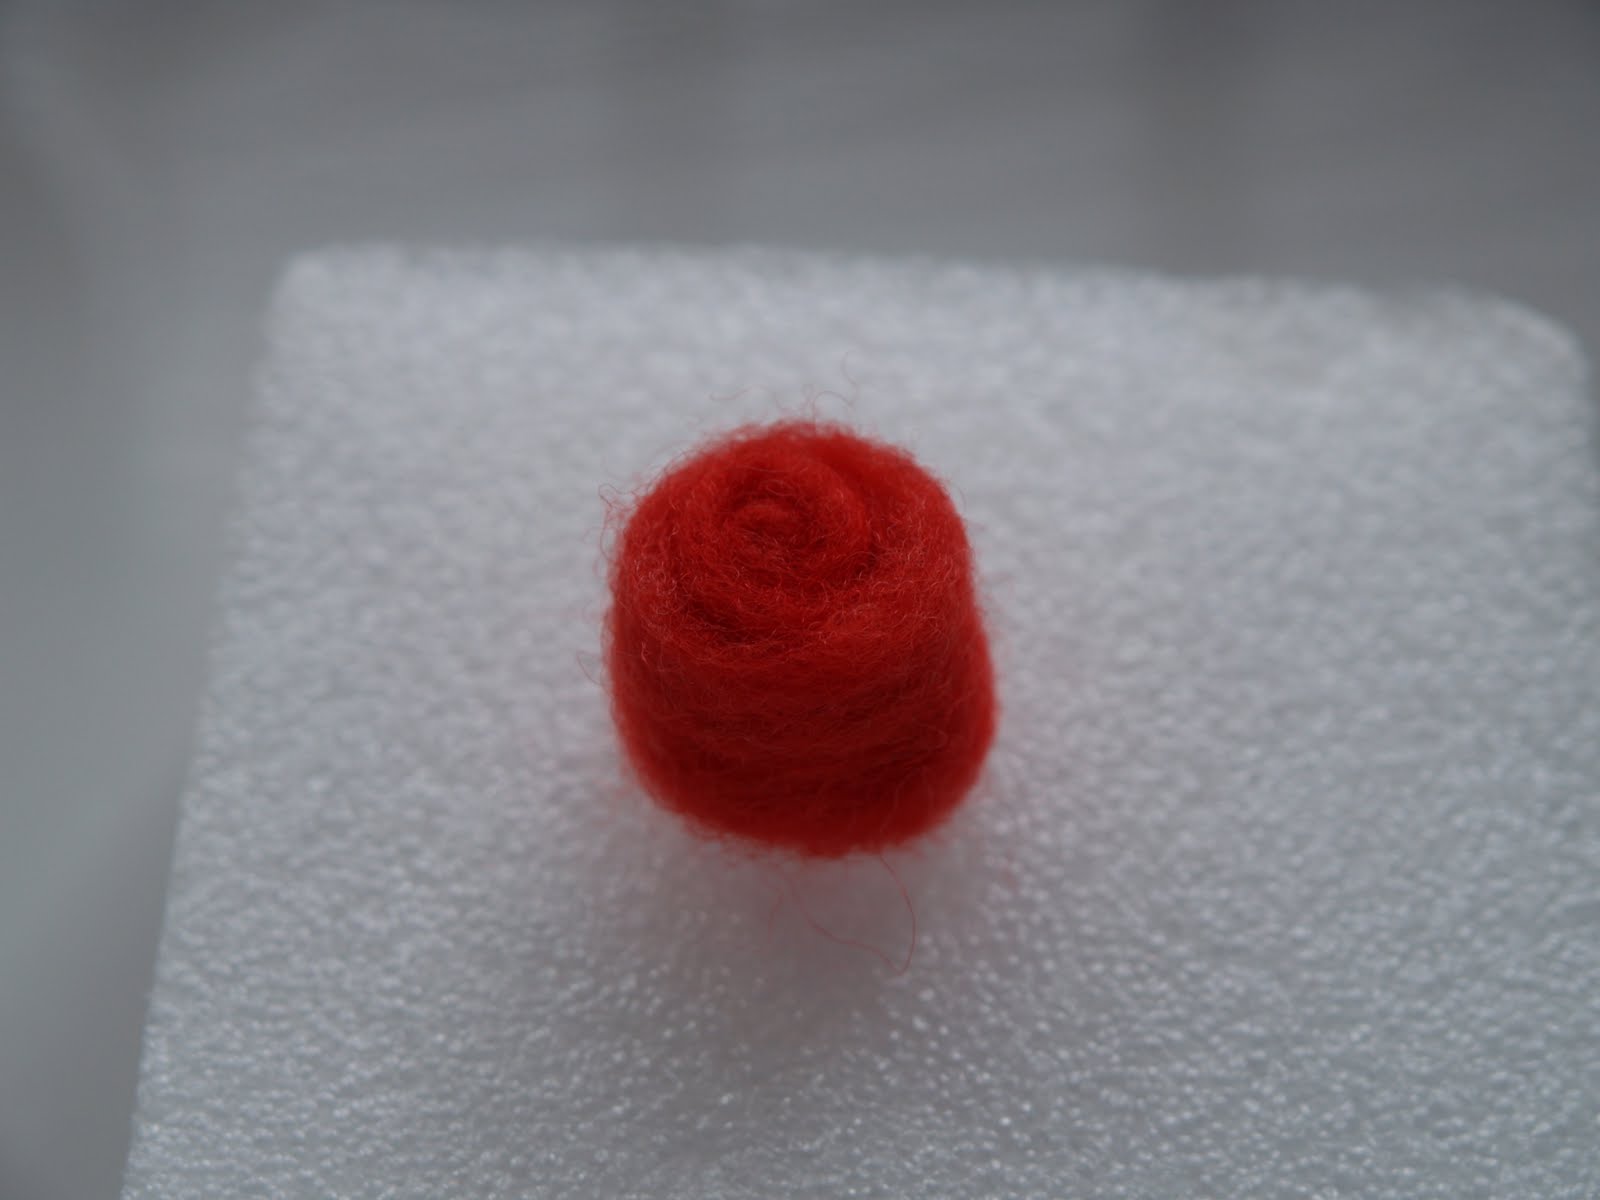
Now for the underside of the toadstool. Set your spiral upright and stab the top gently many times so that it becomes a nice flat surface.
When your underside is nice and flat, turn your spiral over to what will be the top side of your toadstool. With your thumb and forefinger, gently pull the outside layer of wool a loose, just a little.

Fold this pulled layer over the spiral shape and needle felt it gently.
Continue needle felting it until it is a smooth round dome.

Now for the white spots. Get a small tuft of white wool roving about the size of your fingernail.
Roll it in the palms of your hands until it becomes a nice firm ball.
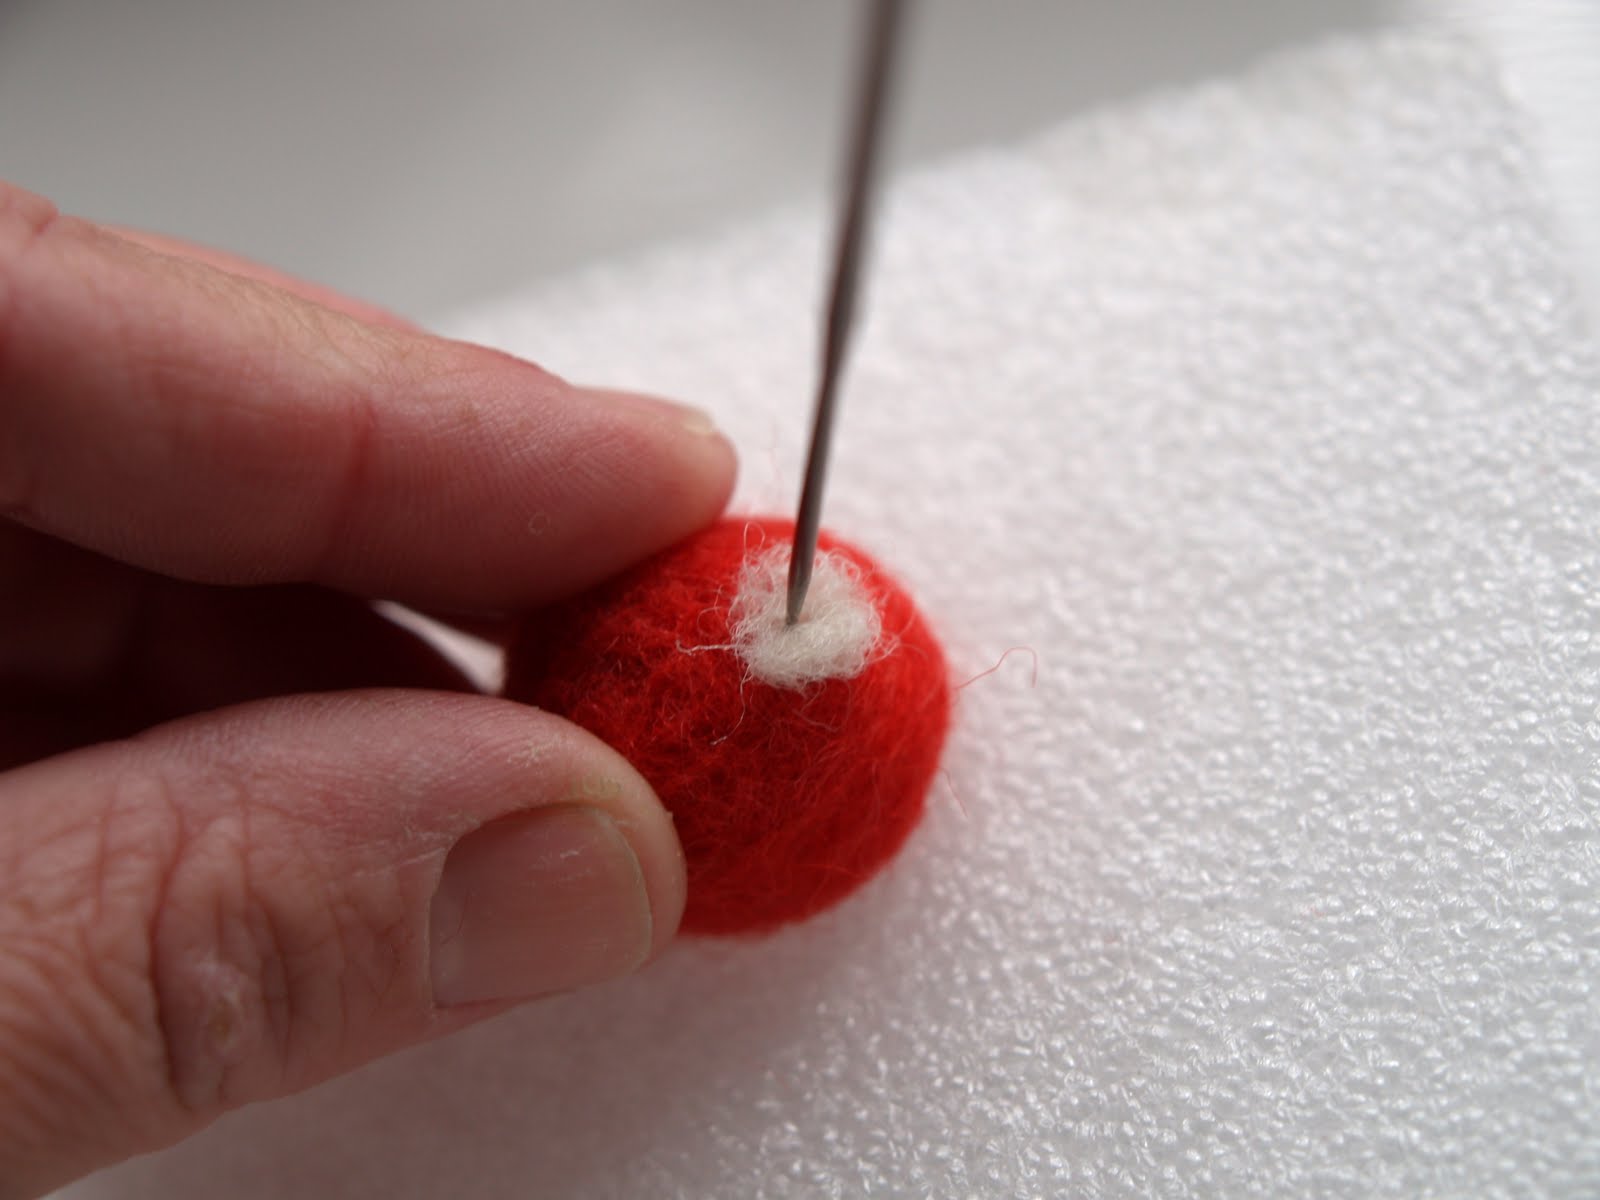 Place the white ball onto the red toadstool and needle felt it into the red wool.
Needle felt as many dots as you'd like onto your toadstool.

Now for the toadstool's stalk. Take a piece of white wool as long as your finger and roll it in your hands until it becomes a 'snake' (as before).

Roll it tightly into a spiral (just like you did with your red wool to start your
toadstool).
Put the stalk onto the felting board and felt it around the outside until it is firmly felted and holds its shape.
Leave one end of the stalk fluffy. Gently needle felt the other end of the stalk until it is round.
 To
connect the stalk to yolace the fluffy end of the stalk onto the
underside of your toadstool (the flat side) and attach it by needle
felting it into the red wool of the toadstool.
To
connect the stalk to yolace the fluffy end of the stalk onto the
underside of your toadstool (the flat side) and attach it by needle
felting it into the red wool of the toadstool.Gently felt around and around the stalk until it if firmly and neatly secured.

Voila! You have made a darling little toadstool!!
I hope you have enjoyed this needle felting project. You have enough wool in your kit to make many little toadstools :-)
I have other needle felting kits available in my shop if you wish to try something new... felted pebbles for lovely home decor, felted pumpkins, felted balls as well as kits of lovely colored wool for you to make whatever your heart desires. Please visit my shop
www.fairyfolk.etsy.com and look under the Kits section.
For more tutorials, please visit my blog The Magic Onions (www.themagiconions.blogspot.com)
I have a page dedicated to needle felting with a number of detailed tutorials…
how to make needle felted toadstools, pumpkins, hearts, pebbles and others.
Don’t
hesitate to get in touch if you have any questions.
Blessings
and magic,
Donni
Shop: www.fairyfolk.etsy.com
Shop: www.DovieMoon.etsy.com
These are so great! I am going to try to make them with my little ones!
ReplyDeleteStyle jhumki earrings mix well with everything navy blue earrings Wear these classic regular outfit. making them a must-have accessory.
ReplyDeleteLes ensembles de jhoomar n'ont aucune limite attending a summer wedding, a festive celebration, or a Pakistani jhoomar soirée under glamour sous les étoiles, ces accessoires enchanteurs effortlessly enhance any occasion with their allure and sophistication.
ReplyDelete